Pages

Thursday, October 16, 2014

I'm Back... With an Evil Eye Manicure!

It's been nearly a month since my last post, which makes me a bit sad.  I have no intention of stopping; life just seems to get in the way sometimes!  I've had some financial hardship lately as a result of moving combined with some unexpected car problems, and I've been picking up extra hours at my job to try to compensate (the week of my last post, I did three overnight shifts).  As a result, I have just been too tired to spend any time on my nails.  Until I'm caught up (or I am back to normal hours after Halloween), I probably won't be posting as often. 

While I'm a bit regretful that I didn't finish the 31-Day Nail Art Challenge, I'm also a bit relieved.  Did I enjoy the five days I did?  Definitely!  It was a good excuse to try some nail art I might not have done otherwise, and I quite liked some of the results!  Will I do it again, or try to finish? 

...No.

Honestly, that kind of posting schedule put too much stress on the process.  Nail art is my zen activity, and I want to keep it that way!  From now on, I will stick to challenges that are one-offs, or that are spaced out more :^)

NOW!  On to the nail art!  For this challenge, I wanted to do some Halloween-ish nail art that didn't involve pumpkins, bats, or grave stones (not to say those themes are lame; I just wasn't feeling it this time!)  Here's my result:


I was inspired partially by Alexa Chung's evil eye nail art, one iteration of which is shown here:

(Source)
....and partially by a bracelet that was given to me by my dear friend (and my brother's girlfriend) Caitlin.  A similar one:

So pretty!  (Source)
Here's some more photos of the results (scary cuticles and all):


Thanks for stopping by!  :^)

Saturday, September 6, 2014

The 31-Day Nail Art Challenge, Day 5: Blue - Subtle Tone-on-Tone Stamping

My first late post of the challenge!  I have a good excuse, though - I painted my nails Thursday night, planning to take photos Friday when I got out of work at 3:30 when the light was better.  On Friday, I ended up getting called in to work at 7:45am, and asked to stay late - so I didn't get home until 9:45pm last night!  Twelve hour days may be good for my wallet, but not so much for my nail blogging schedule ^_^

So far, even though it's simple, this is my favorite manicure I've done for this challenge.  I found two lonely bottles of everyone's fave stinky blue, Sally Hansen Pacific Blue (the old version) at my local Walgreens recently, and picked one of them up on impulse.  I noticed that it was very close in color to Sinful Colors Endless blue, but was not a dupe... so I decided to do some tone-on-tone stamping!  Here is the result:


I was a little afraid that, because the colors were so close, I wouldn't get a good stamp.  Fortunately, it worked just fine - Pacific Blue is a hair lighter and more opaque than Endless Blue, so I used it as a base, and stamped Endless Blue over it.  I used the Mash-51 plate with the offset triangles, because I thought it complemented the bright color.  I honestly am glad that I missed out on posting, because I got to wear this mani for an extra day.  This will definitely go into my regular rotation!


I received a lot of compliments on this manicure at work from customers, which was very gratifying, since usually no one notices my nails, haha.  I just love this color blue; I think it's so flattering universally.  I wish I'd picked up both bottles when I saw them... hopefully the other one will still be there next time!


The stamping is very subtle, which I think works for such a bright color.  I am going to try other variations of this technique later on to see if I can do a similar manicure in more colors!
Here's a bottle shot (the colors in the photos are pretty accurate on my monitor, but yours may differ):

Thanks for stopping by; I'm having such a great time with this challenge, and I adore looking at the spectacular work that the other ladies participating in this challenge put out.  I'm so awed by their talent!

The rest of the prompts are shown below, in the lovely graphic shared by Sarah at Chalkboard nails, here:


Don't forget to check out their work in the links below, and please add your link if you are participating!


Thursday, September 4, 2014

The 31-Day Nail Art Challenge Day 4: Green - Malachite Nails

Since my degree is in geology, I get a lot of inspiration from nature -- specifically, from rocks and minerals (there's a difference - know it, respect it!  :^P  ).  There is an incredible range of beautiful and colorful inspiration that can be derived from the study of geology, from invertebrate paleontology to mineralogy and petrology, stratigraphy, and even hydrogeology!  Until now, I haven't done a single nail art design related to this topic, which is surprising, since I find it endlessly fascinating and have a long list of designs I'd like to try.  Luckily, for the fourth day of this challenge, the idea for the design was obvious to me:  malachite.  Malachite is a fascinating copper-rich mineral that often grows in concentric rings (forming little baby stalactites).  When ground smooth, these laminations of malachite appear as little blobby circles of different shades of bright, bold green.  For obvious reasons, malachite is used pretty extensively in jewelry.  Interestingly, it also forms as a pseudomorph of another copper mineral, azurite (a pseudomorph happens when one mineral changes through chemical processes to another mineral, preserving the original shape of the first mineral).  Azurite is a fantastically bright blue mineral, and often, these minerals are found together as an amalgamation of vibrant blue and green crystals.  Isn't nature amazing?!?

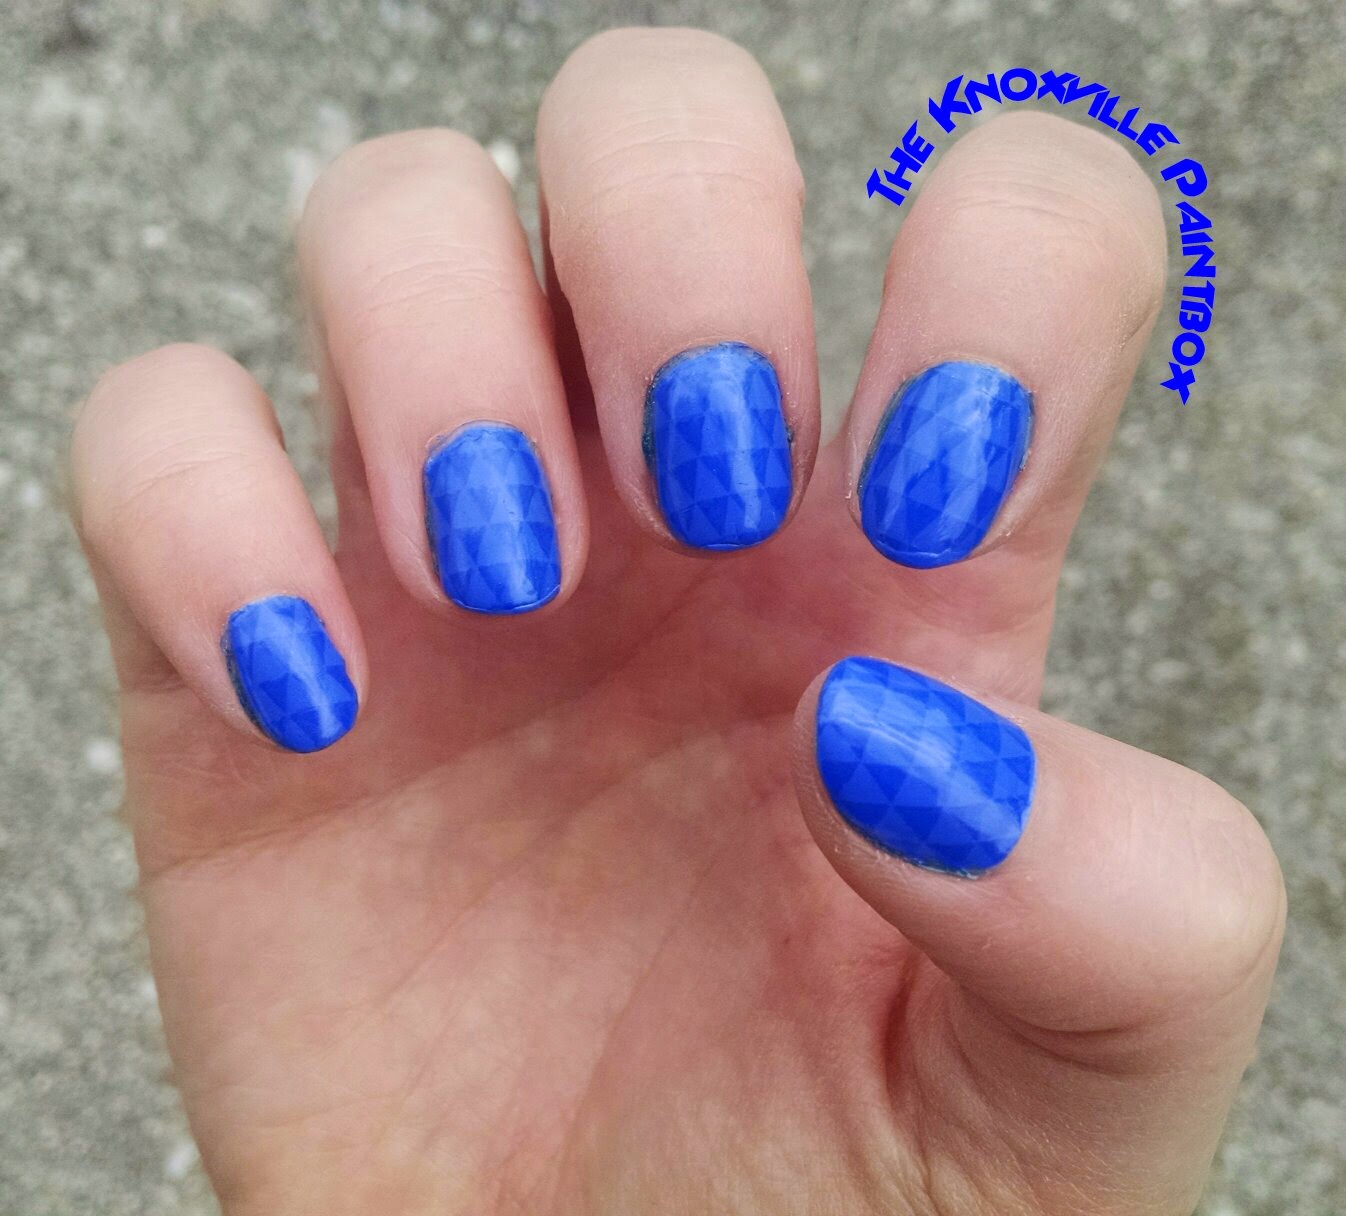
Aaaannnnnnyyyhoo, I wanted to replicate the texture of polished malachite on my nails, and ended up with the following results:


I'm super happy with how these turned out, even though I had a few setbacks along the way.  For reference, here is a picture of some polished malachite:
Link here.  Disclaimer:  While I personally am not a believer in the healing properties of crystals,
my motto is "to each their own!"   She also has lovely pictures of rocks!
To create these designs, I used acrylic paint exclusively, since I didn't have the right colors of nail polish. I used two shades of green as well as white to produce the designs.  I first painted a light green base on my nails, and then painted large and small circles with dark green.  Using the light green, I painted rings inside of the dark green circles, and so on, until my dots looked the way I wanted.  I then used the light and dark green to paint little shapes in between the circles.


The paint above was my main issue -- it had separated in the tube into a clear gel and a grainy green sludge.  This made doing the dark green bits super difficult and annoying, and made the finished surface super bumpy.  I'd like to try this again with better quality paint, to see if I could get smoother circles and a better overall effect, but for now I'm satisfied with the results.

I ended up using two coats of Salon Perfect Topcoat to smooth it out... I might need to pick some up really soon; my bottle is almost empty!


What aspect of your life regularly inspires your nail art?  I'd love to hear about it in the comments :^)

Before you go, don't forget to check out the incredible work of other nail artists at the end of this post, and be sure to add yours to the list if you are participating!  The prompts for this challenge are in the image below, courtesy of Sarah at Chalkboard Nails!